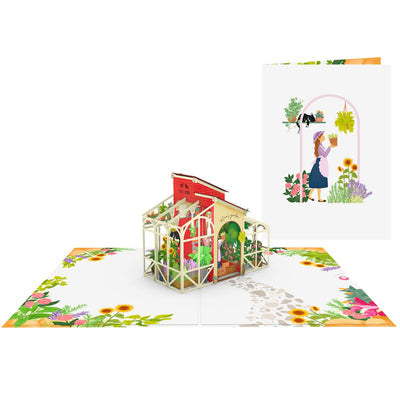
Christmas cards are one of the oldest traditions of the holiday season. Making your own cards is a more personal and special manner to express your Christmas wishes and greetings. Whatever your motive, receiving a DIY 3D Christmas tree card that you have made is sure to make anyone happy. This DIY 3D Christmas tree card idea will be the star of any loved one's mantel. Each design has step-by-step instructions for making your own creative Christmas cards.
Step 1:
Use the color white and green paper, two typical colors for Christmas tree. In particular, use soft paper for the green paper to fold later

Step 2:
Use the color green paper folded up and down in equal straight lines as the fan format

Step 3:
Cut the green paper folded into five pieces of different lengths

Step 4:
Use a pencil and a ruler to draw equal points on the color white paper. Pay attention carefully at this step to get the most beautiful product

Step 5:
Take your longest green piece and glue just above on the point laid out on the right side of the white paper. Then layer the remaining 4 pieces evenly. Once all are glued in place. Carefully add glue to the “upward facing” surface of the piece. Hold in hand and flap over the left side of the white paper
Step 6:
Tada, mission completed with DIY 3D Christmas tree card. You can also add extra some ribbons or tinsel to decorate much more beautiful.

We hope that with our easy recommendation, you have more amazing DIY 3D Christmas tree cards for your beloved ones. If you want to know information about the Christmas pop up card idea, do not hesitate to contact us. Happy crafting!
Unipop
<div class="dynamic-checkout__content" id="dynamic-checkout-cart" data-shopify="dynamic-checkout-cart"> <shopify-accelerated-checkout-cart wallet-configs="[{"supports_subs":true,"supports_def_opts":false,"name":"shop_pay","wallet_params":{"shopId":1832878149,"merchantName":"Unipop","personalized":true}},{"supports_subs":true,"supports_def_opts":false,"name":"paypal","wallet_params":{"shopId":1832878149,"countryCode":"US","merchantName":"Unipop","phoneRequired":false,"companyRequired":false,"shippingType":"shipping","shopifyPaymentsEnabled":true,"hasManagedSellingPlanState":false,"requiresBillingAgreement":false,"merchantId":"RB8UXTK53V3L4","sdkUrl":"https://www.paypal.com/sdk/js?components=buttons\u0026commit=false\u0026currency=USD\u0026locale=en_US\u0026client-id=AbasDhzlU0HbpiStJiN1KRJ_cNJJ7xYBip7JJoMO0GQpLi8ePNgdbLXkC7_KMeyTg8tnAKW4WKrh9qmf\u0026merchant-id=RB8UXTK53V3L4\u0026intent=authorize"}}]" access-token="fad21bb26c88ef197e42a1a59f3a5cc6" buyer-country="US" buyer-locale="en" buyer-currency="USD" shop-id="1832878149" cart-id="3dd6498dfd975f1a455ac25485728899" enabled-flags="["d6d12da0","ae0f5bf6"]" > <div class="wallet-button-wrapper"> <ul class='wallet-cart-grid wallet-cart-grid--skeleton' role="list" data-shopify-buttoncontainer="true"> <li data-testid='grid-cell' class='wallet-cart-button-container'><div class='wallet-cart-button wallet-cart-button__skeleton' role='button' disabled aria-hidden='true'> </div></li><li data-testid='grid-cell' class='wallet-cart-button-container'><div class='wallet-cart-button wallet-cart-button__skeleton' role='button' disabled aria-hidden='true'> </div></li> </ul> </div> </shopify-accelerated-checkout-cart> <small id="shopify-buyer-consent" class="hidden" aria-hidden="true" data-consent-type="subscription"> One or more of the items in your cart is a recurring or deferred purchase. By continuing, I agree to the <span id="shopify-subscription-policy-button">cancellation policy</span> and authorize you to charge my payment method at the prices, frequency and dates listed on this page until my order is fulfilled or I cancel, if permitted. </small> </div>


Leave a comment